Building the Right Path: Attendee Journey Mapping
Every event planner knows planning an event means you’re juggling about 97 things at once. And somewhere between designing the registration form and picking the right flavor of sparkling water, you begin to think, “What about the attendee experience?”
Here’s what we can tell you about it: When you intentionally map out the journey that’s built for your specific audience, it stops being guesswork and becomes magic.
What is an Attendee Journey Map, anyway?
Think of it as your event’s GPS. It’s a visual guide that helps you and your stakeholders see the full attendee experience from start to finish. This is where you plot touchpoints that make an impact and figure out how (and where) to add a little sparkle along the way.
Whether you realize it or not, you’re already crafting the attendee journey through those little moments that surprise, delight, and keep people coming back for more. With a thought-out attendee journey map, you can actually visualize each step — from the first Save-the-Date communication to the final Great-to-See-You follow-up.
And that can mean the difference between a good show and a “WOW! That was good.” show.

Triple the hype: 3 key stages of the journey
To help simplify planning your attendee journey map, let’s break it down stage by stage:
1. The before buzz (Pre-event)
This is where the hype begins: with your website, emails, social media, registration forms, teaser videos, etc. It’s all about building excitement around the live, on-site experience you’re planning for attendees.
2. The main event (During)
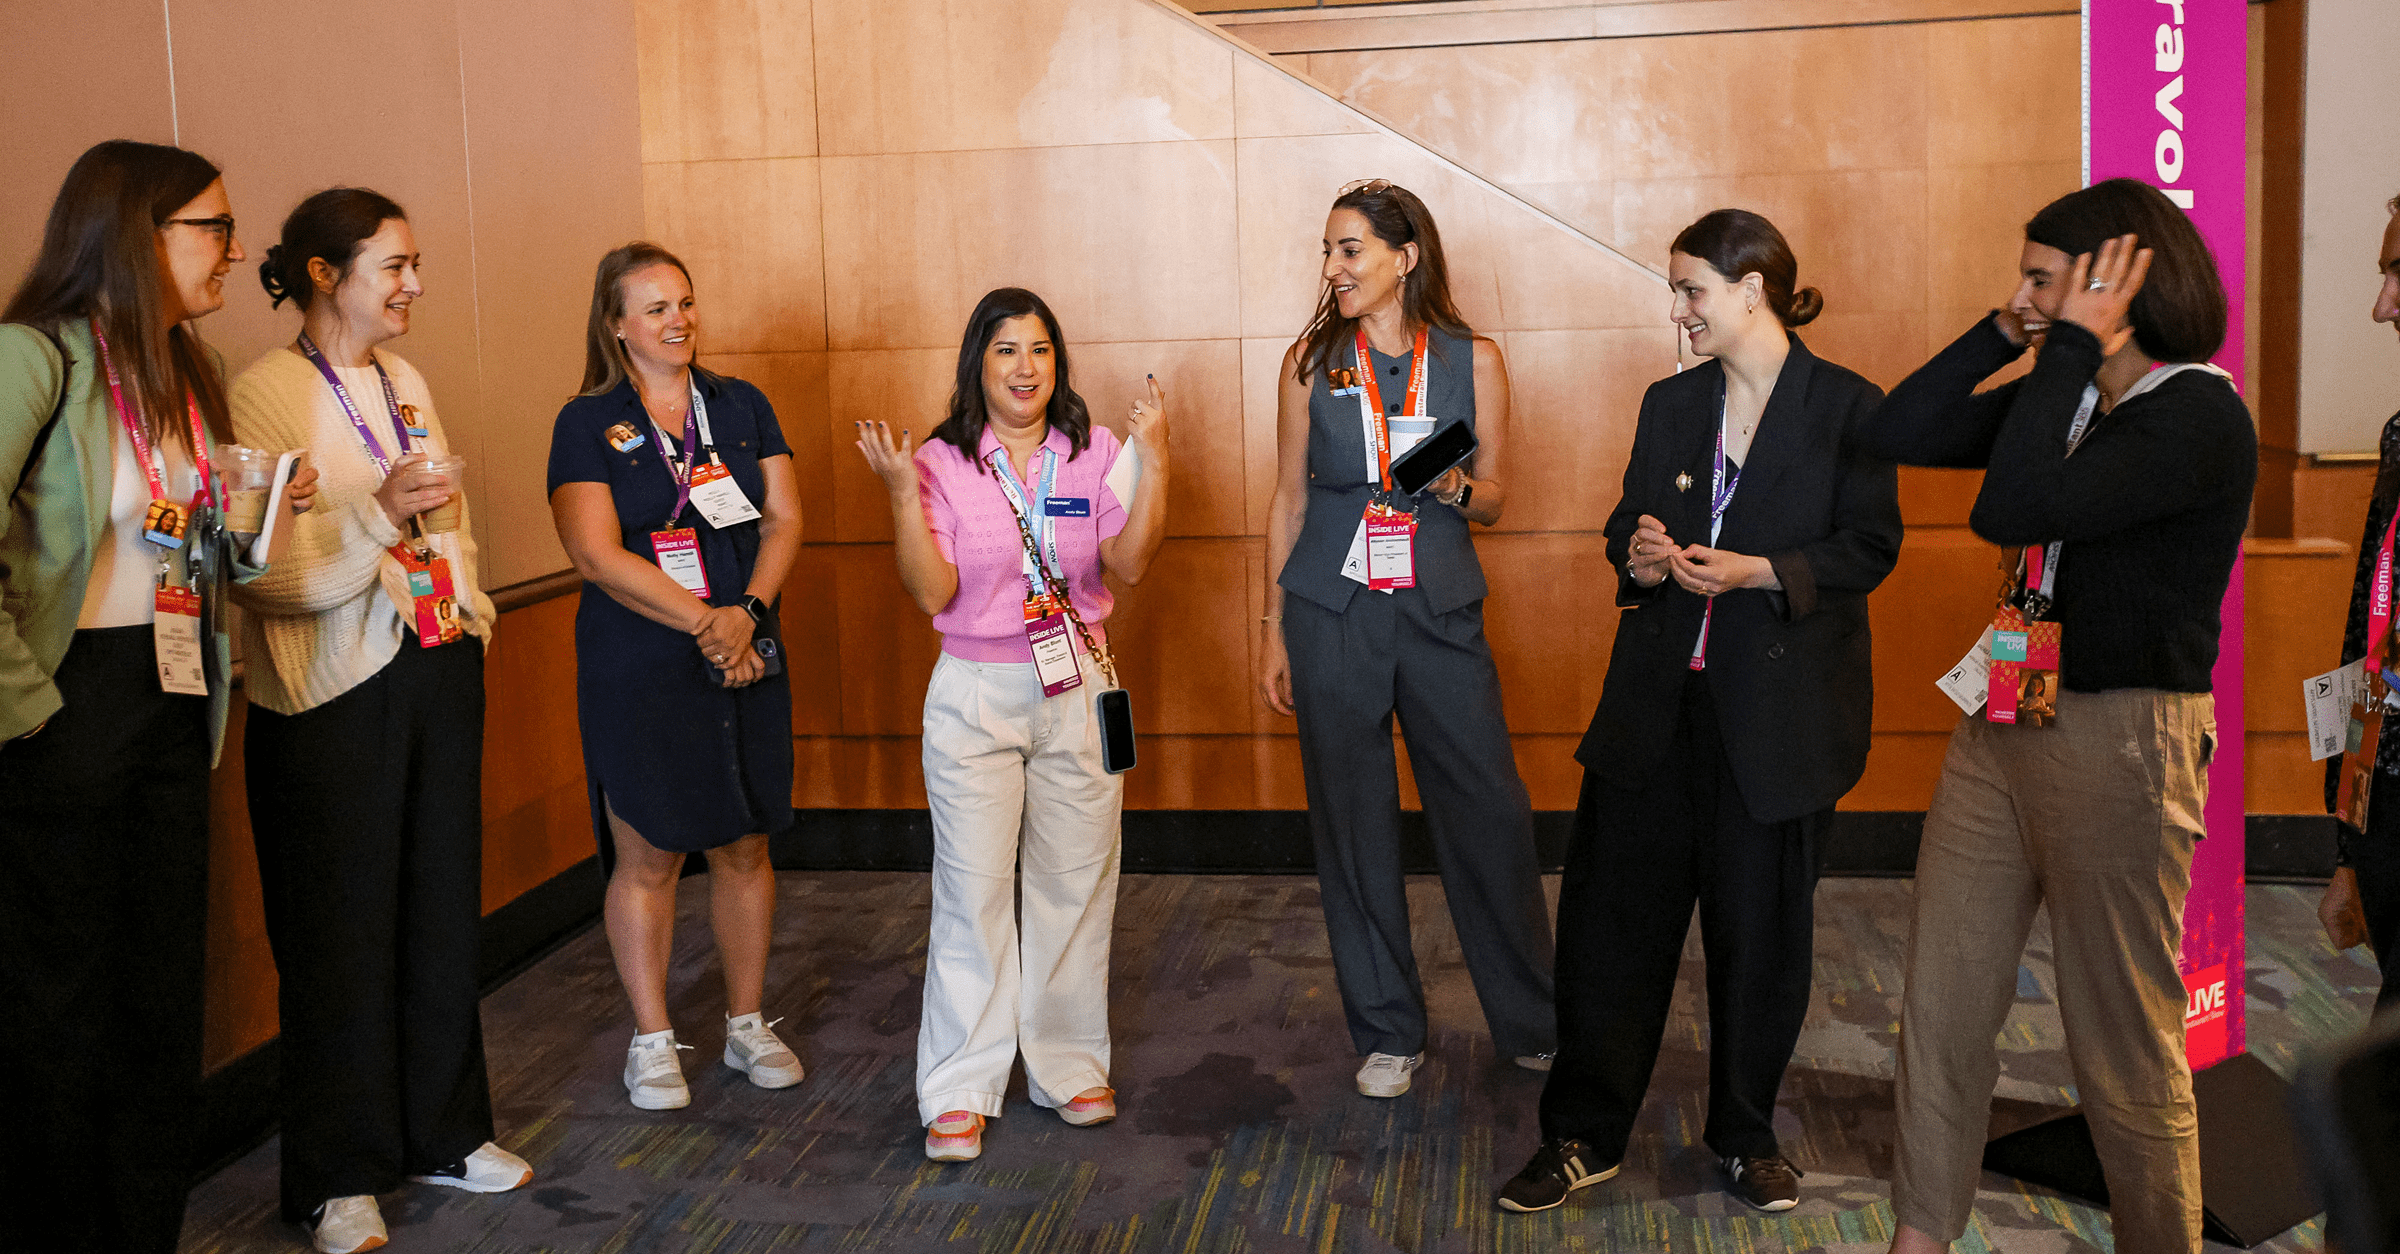
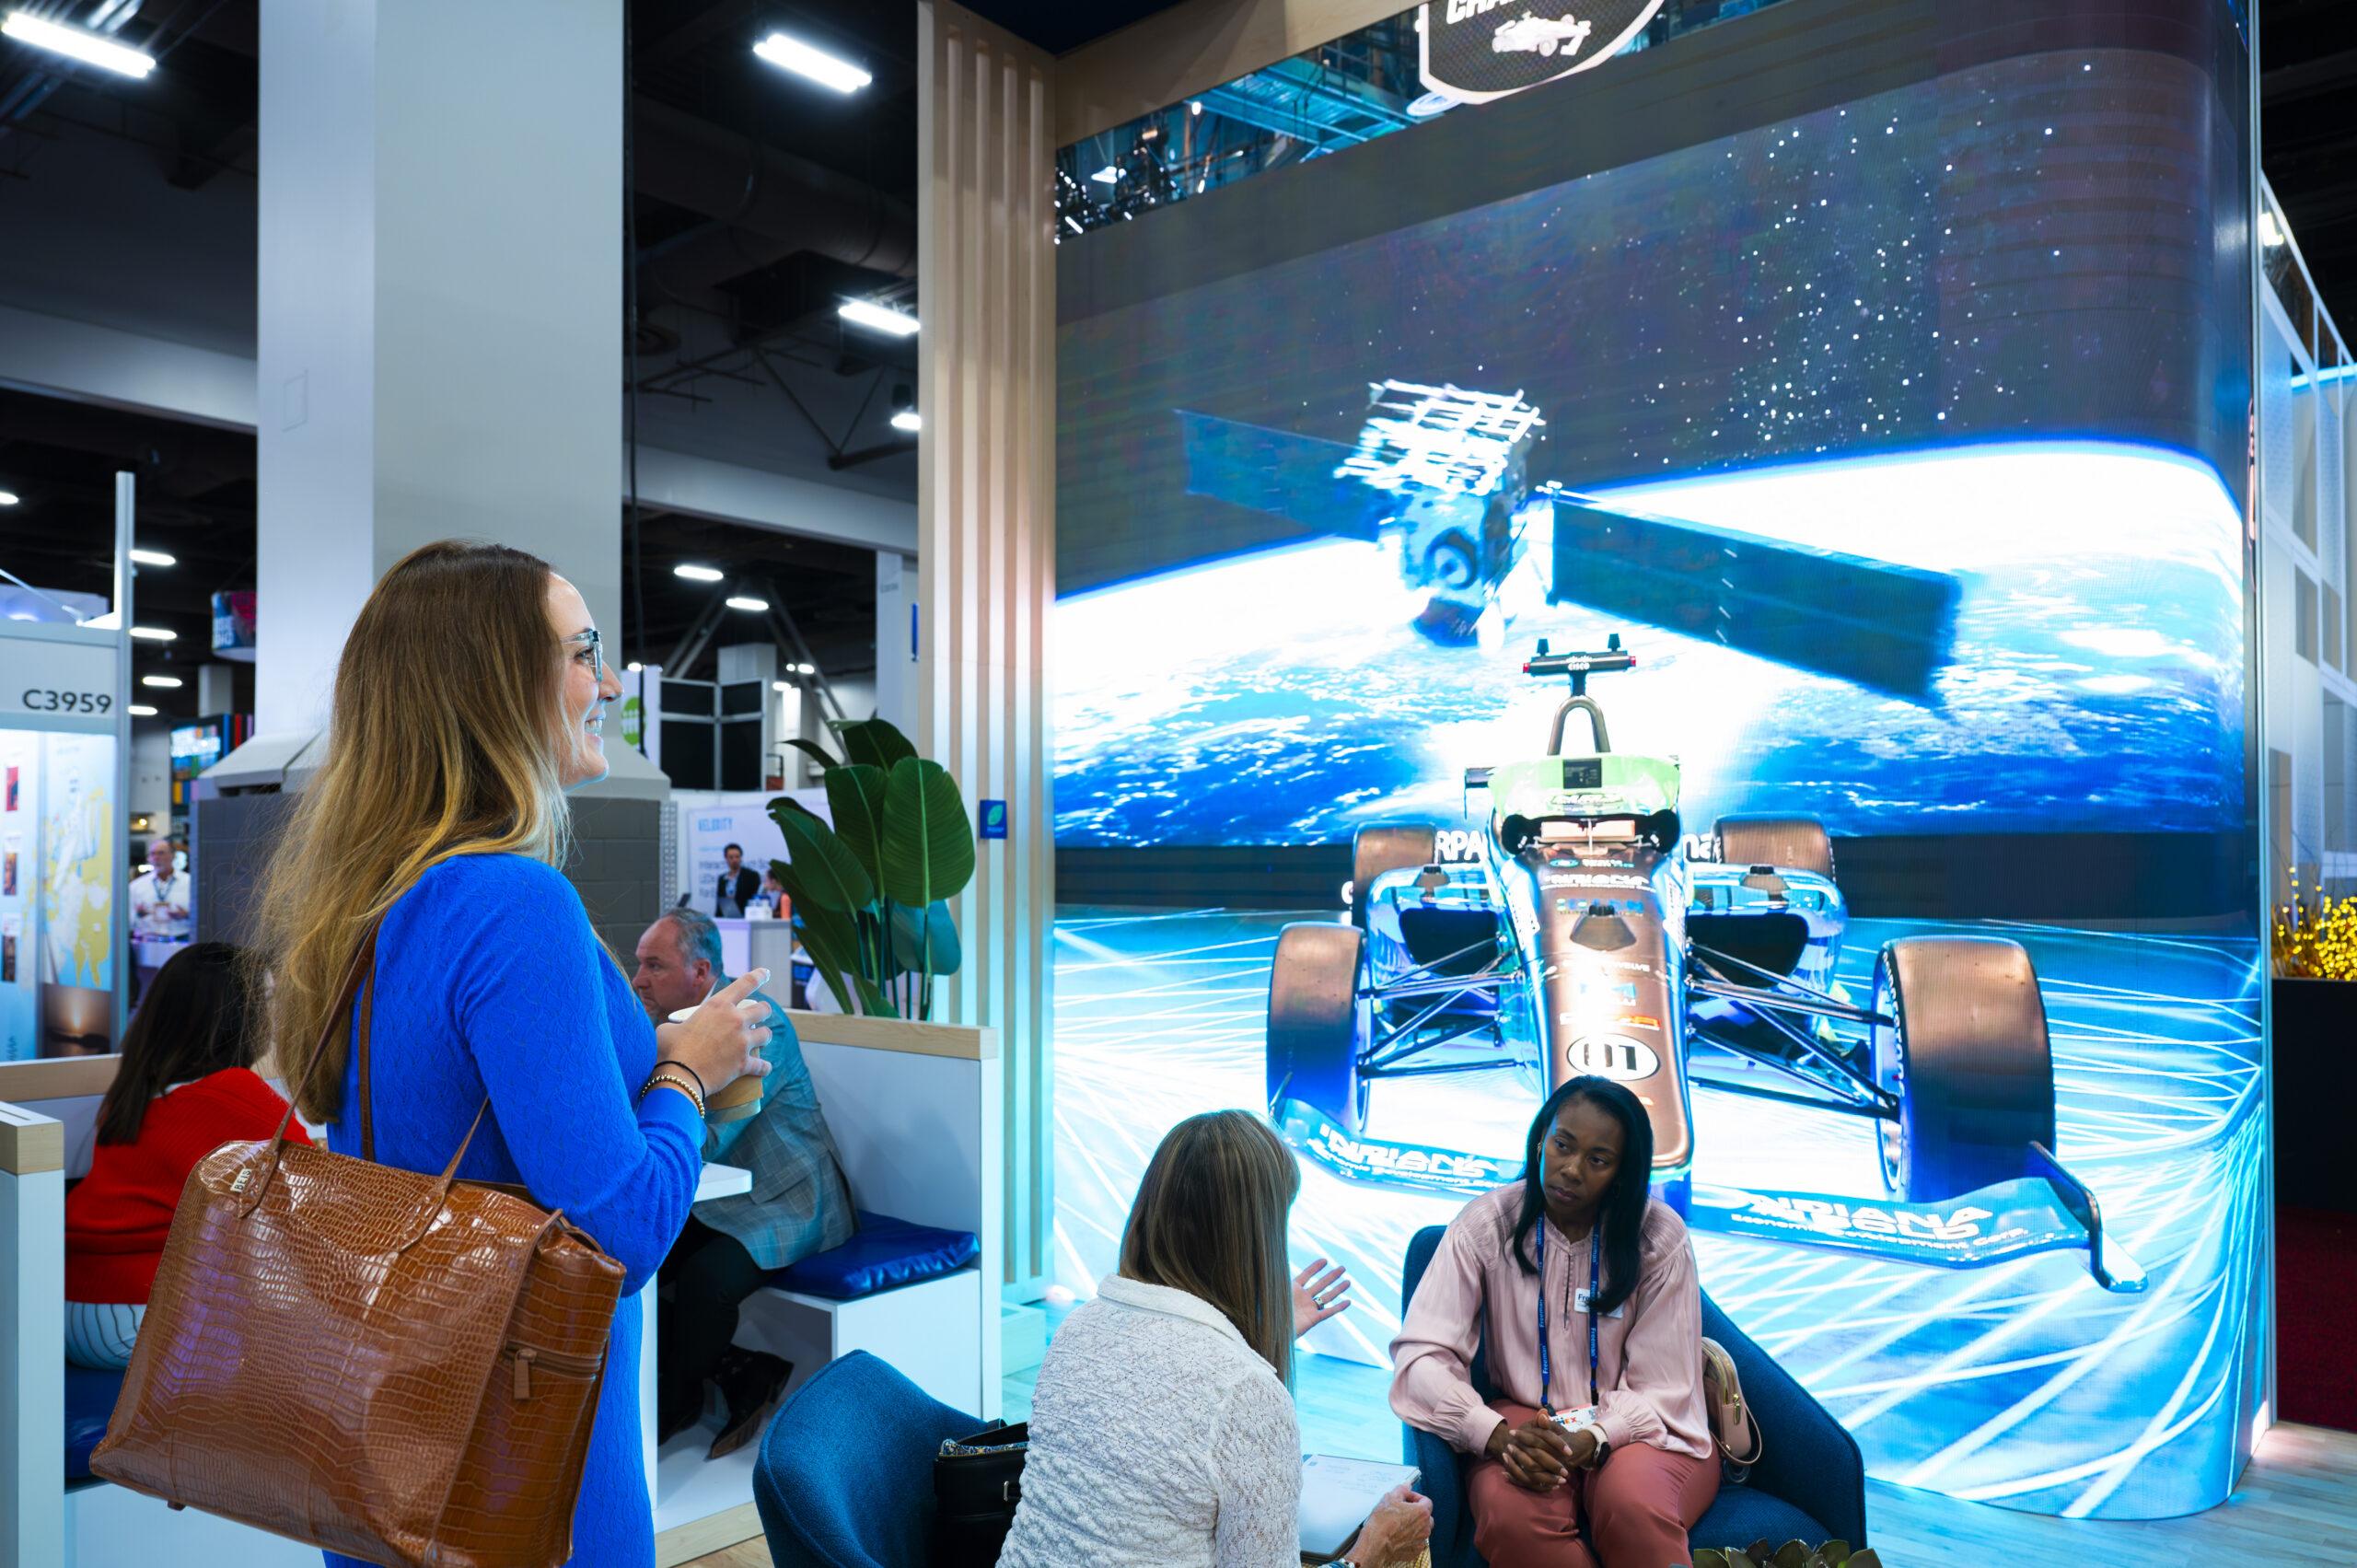
From the moment attendees walk in (or log in), this is the time to start shining. Think arrival experience, community building, surprise-and-delight moments, personalization, networking, and unexpected elements that make your event unforgettable.
3. The long goodbye (Post-event)
This engagement party is here for the long term. Go for follow-up emails, fresh content drops, thank-yous, surveys, and sneak peeks of what’s coming next.
Something to keep in mind (it’s a priority for today’s audiences): A great journey isn’t one-size-fits-all. This is where personalization comes in.
Personalization: The secret sauce
Here are a few smart ways to organize your attendee profiles
- Shared interests
- Similar budgets
- Job titles or industry type
- Passions and/or pain-points
Pro Tip: Ask a few strategic questions during registration, and you’ll collect the necessary intel to group people in ways that make the experience feel personal.
Why it matters (a lot)
Once you create your first attendee journey map, you’ll discover how this game-changing planning tool can truly influence stakeholders, align your team, and most importantly, help you design an experience that connects with your audience.
Plus, it’s way more fun to plan when you can see the big picture and build something that’s more than just organized; it’s awesome.
Final takeaway
You don’t need to be an expert at designing user experiences or a data scientist to make attendee journey magic happen. You just need a map, a few smart insights, and a little creative flair. Start small, keep it intentional, and let the experience speak for itself.
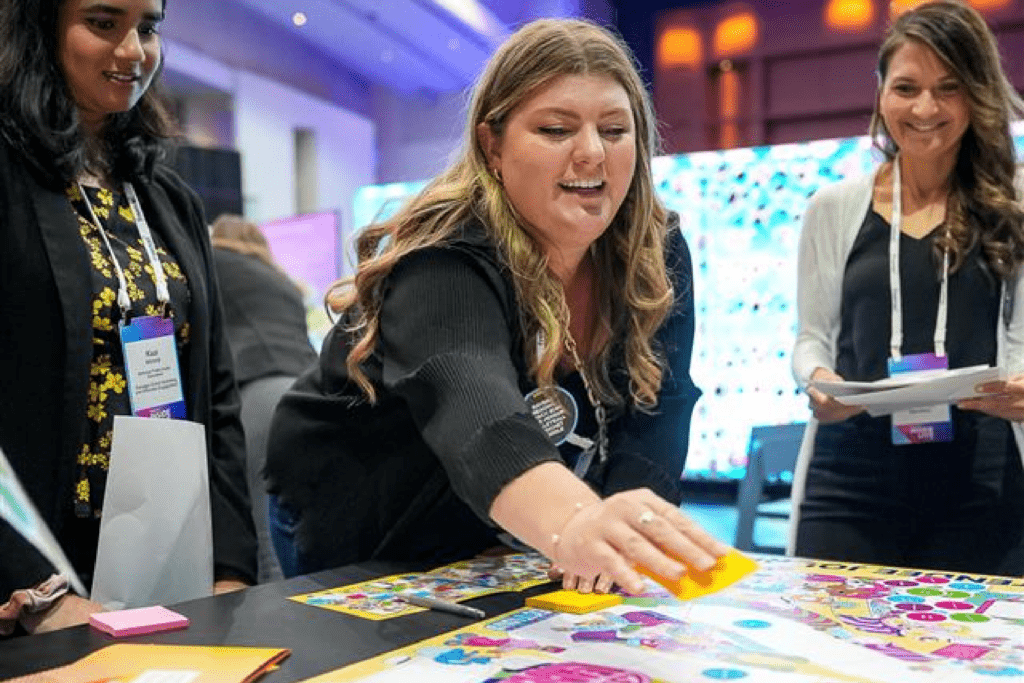
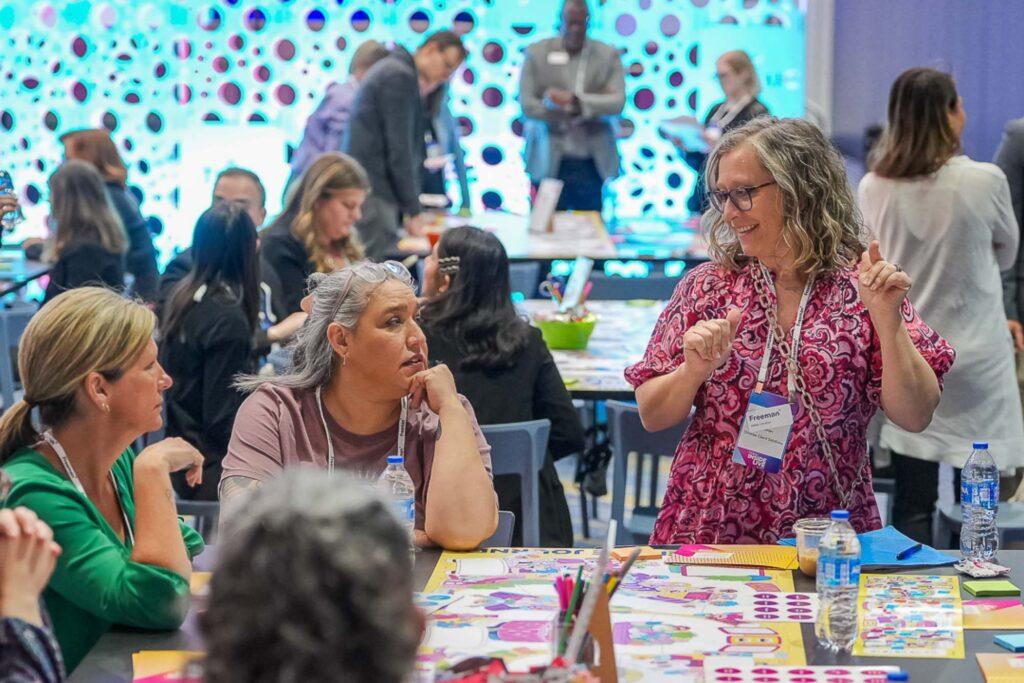
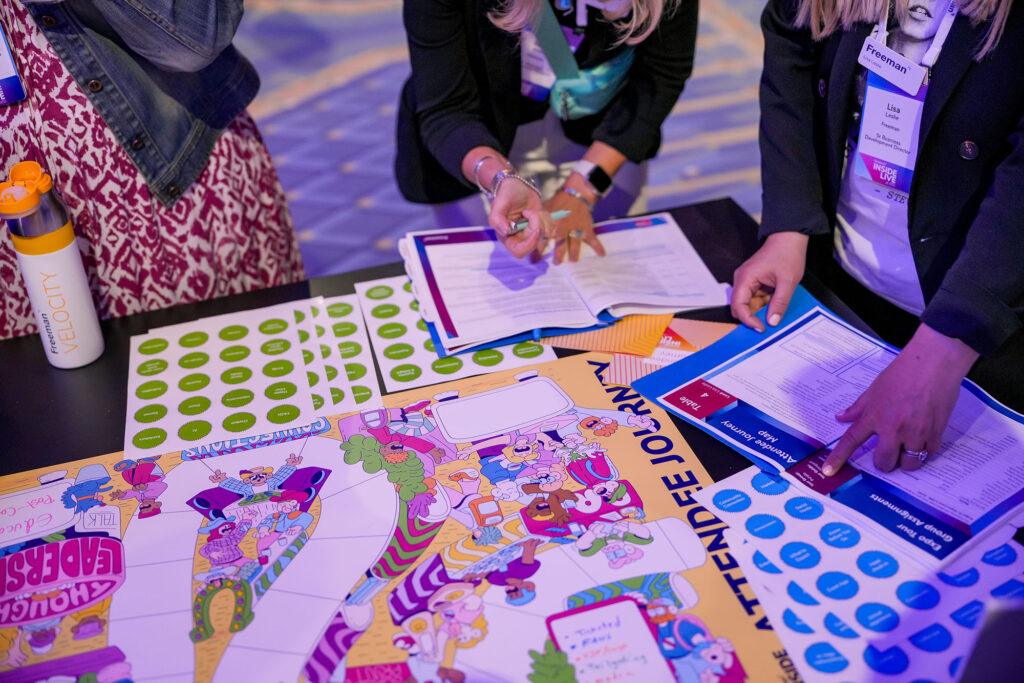
Up your game: Practice designing the ultimate attendee journey map
1. Design your own attendee journey map using a dynamic, game-inspired format for your own event.
2. Download the map (print or edit digitally). Each side of the map is designed so that content is right side up.
3. Grab your event and marketing colleagues.
And start by segmenting out the attendee profiles you want to target throughout the event. Remember, you can group your attendee profiles in the way that makes the most sense for your event. It could be:
- Generational
- Based on job skills or title
- Interest based
- And so much more…
4. Now, assign each attendee profile a color. You’ll notice our sticker template has five colors. This allows you to start mapping the attendee journey for each profile in a color coordinated way that makes it easy for you to see each touchpoint for each attendee profile!
Now that you have your attendee profiles and colors defined, brainstorm and write in all of your touchpoints in the blank spaces provided — pre-event, during event, post-event. You can use stickers, post-it notes, markers and anything that helps you bring the attendee journey to life!
Examples:
- Pre-show communications (Save-the-Date email)
- Food and beverage
- Registration
- Keynote
- General sessions
- Activations
- Post-event follow-up (Great-to-See-You email)
- Value-added content
Download the full toolkit