4 Steps to Plan Your Exhibit AV Like a Pro
What You’ll Learn
- How to match your AV setup to your specific booth goal, whether that’s lead generation, product demos, or brand awareness,
- Why bringing AV into the planning conversation early, alongside your booth design, leads to a smoother setup and a smarter budget
- How to build a reliable, show-by-show AV budgeting strategy
- What to check before before the exhibit floor opens, so show day is about confirmation, not testing
You secured your exhibit rental. Now it’s time to consider your booth design, overall setup, and AV. Why plan your AV early and not leave it as a line item just before your show starts?
AV that’s planned alongside your booth is how your setup comes together seamlessly, your budget works harder, and you walk onto the show floor cool and relaxed knowing everything is in place.
Step 1 — Match AV to your brand goal
The most budget-efficient AV decisions start with your objective, not an equipment list. Think about what you need your booth to achieve:
- Generate leads
- Demonstrate a product
- Build brand awareness
- Networking and connection
Starting with your goal keeps your budget grounded and makes it easier to identify where to invest a little more for a bigger return.
Step 2 — Let your booth drive the AV conversation
As soon as you know your exhibit rental footprint, that’s the moment to bring AV into the conversation. This shapes the possible AV options and planning them together is where exhibitors find the most value.
Ask these types of questions:
- Where in the booth do you need eyes? Start at the entry point; that’s where you set the hook. Then follow the path to where conversations happen.
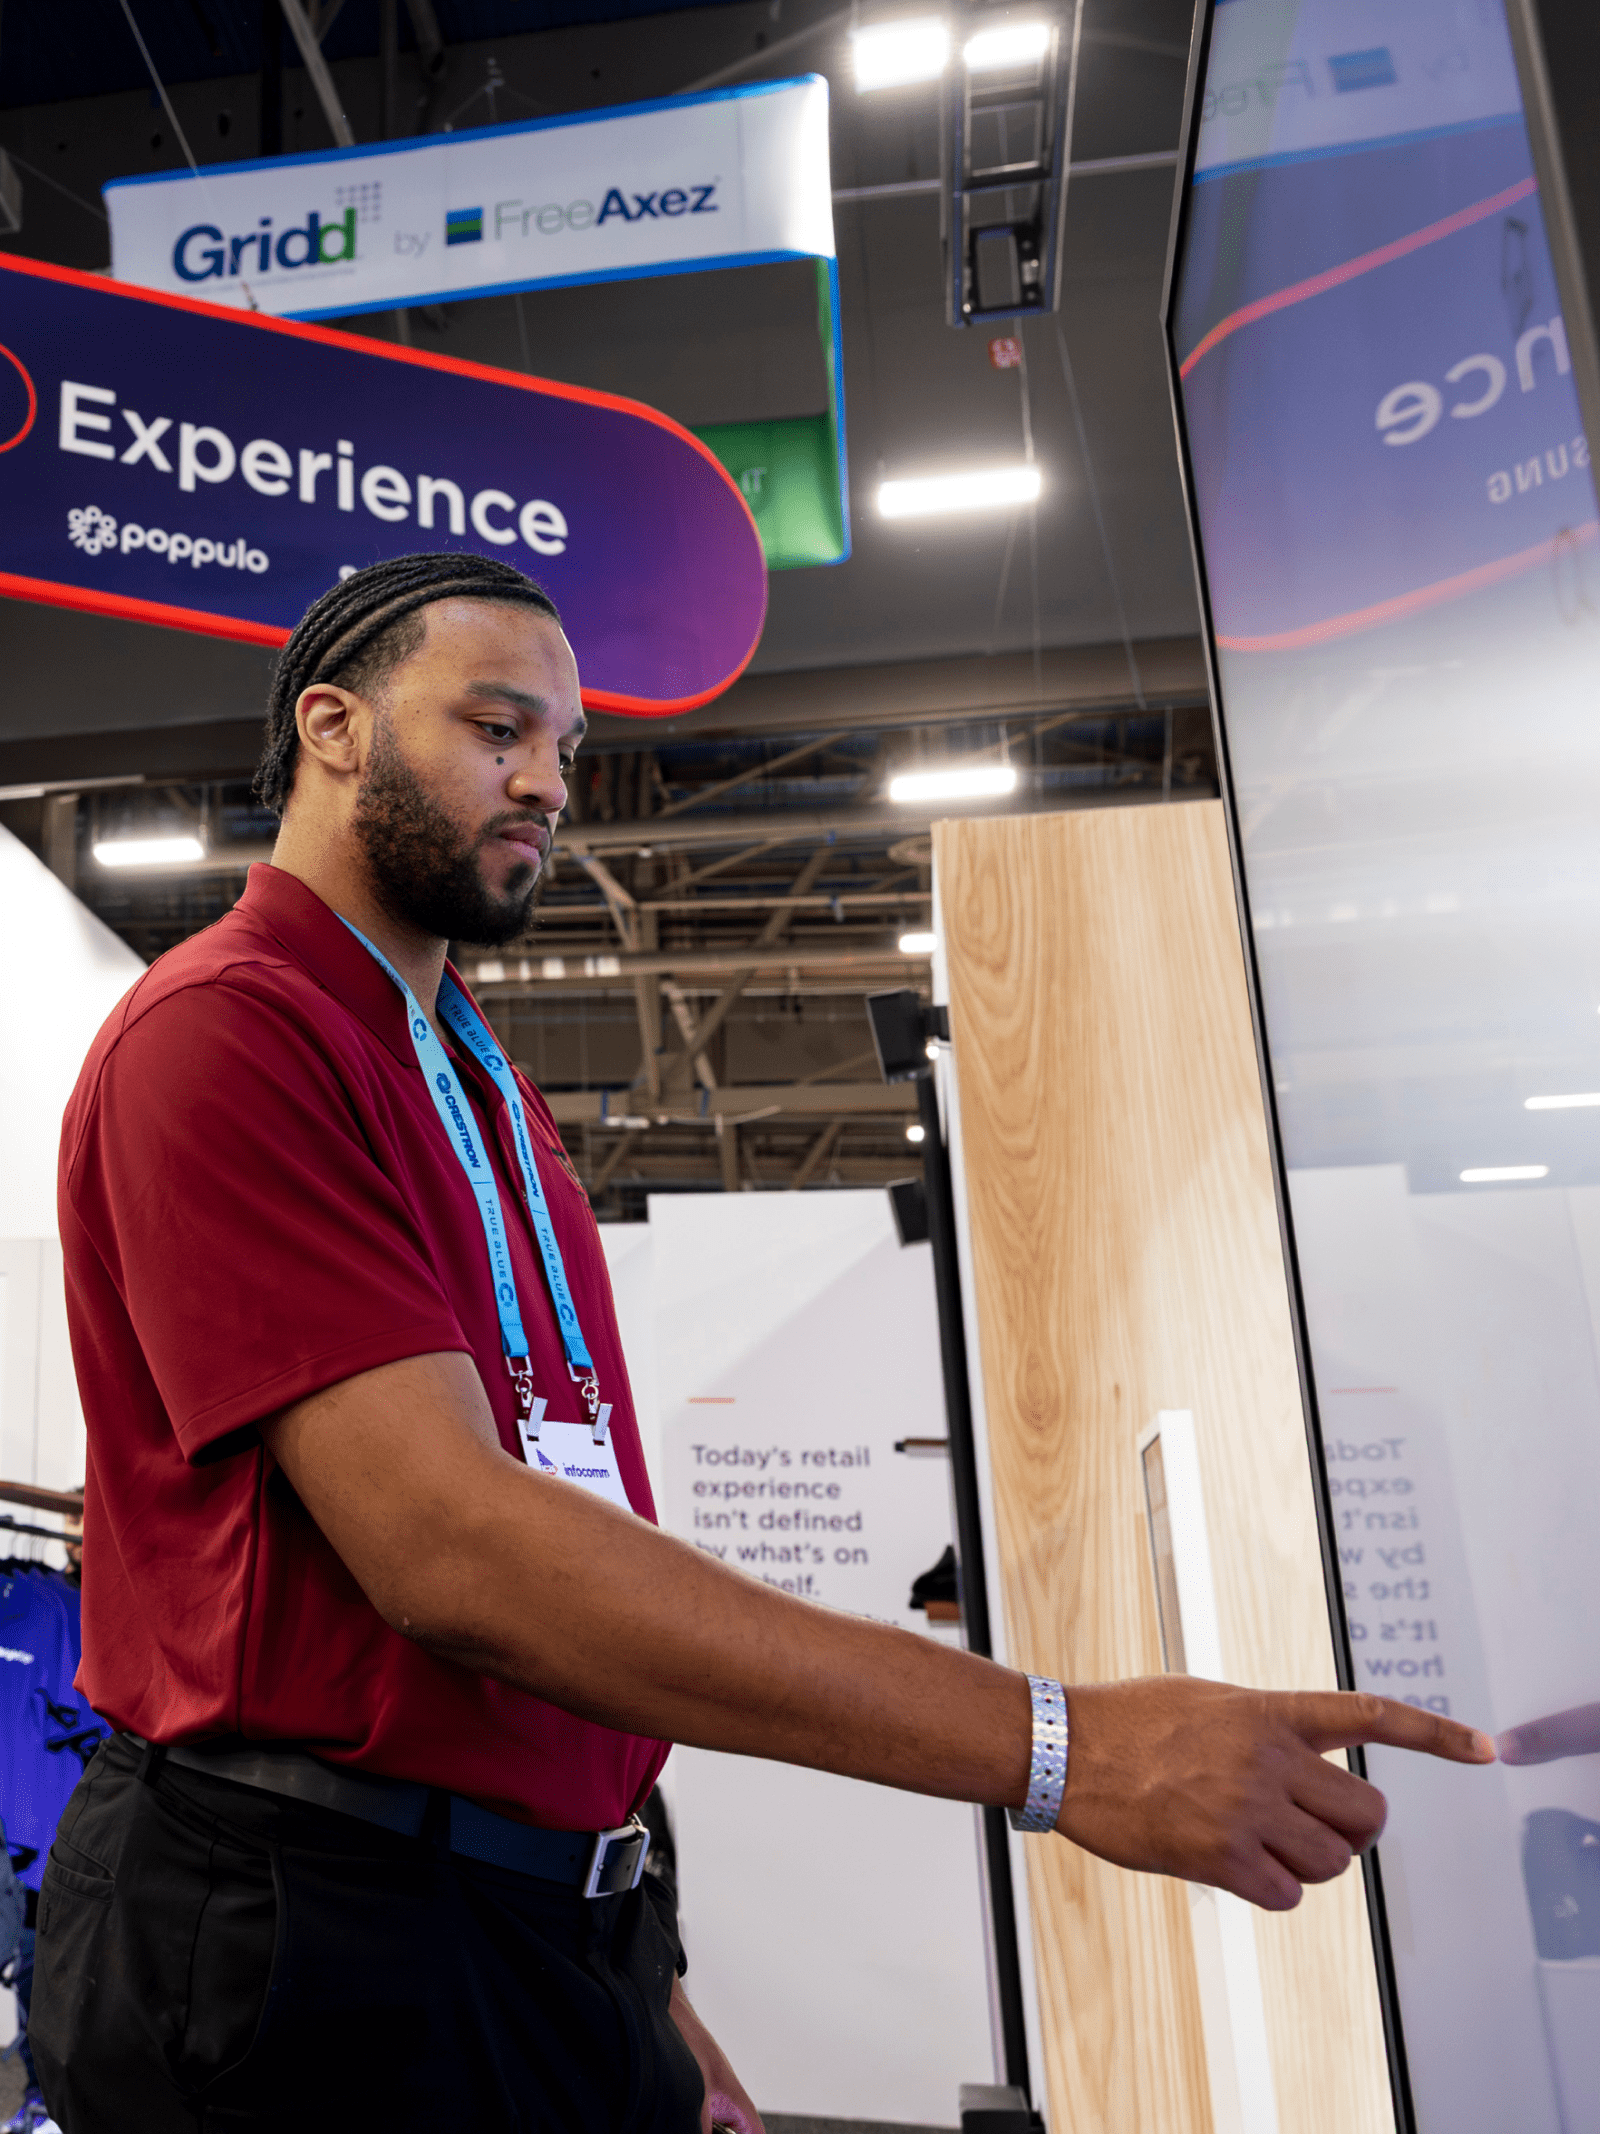
- Is your content running on its own or does someone need to drive it? Looping video and ambient graphics are about placement. A live demo means the screen has to work for the rep and the audience at the same time.
- Will ambient noise work for you or against you? On an open show floor, audio gets swallowed. Plan visual-first and treat sound as a bonus.
The answers will tell you where to put your AV dollars (and where to save them).
Step 3 — Make show day about confirmation, not testing
Send presentation and video files to your AV provider early, well before move-in day, so everything can be tested and dialed in ahead of time. A good AV partner handles the technical setup, which means by the time you arrive, the heavy lifting is already done.
Before the exhibit floor opens, walk the booth the way an attendee would:
- Screens visible from the aisle at a natural eye level
- Audio present but not intrusive to neighboring booths
- Lighting flattering with no shadows on products or staff
- Content looping cleanly and on brand
Small adjustments are easier pre-show (just one reason to book with an AV partner that’s on-site and ready to solve any challenges). Once the show begins and traffic picks up, on-site options get limited fast.
Step 4 — Debrief after every show
Your best AV budget decisions for next time come from this time. After the event, note:
- Which elements drove the most engagement
- What went unused or felt unnecessary
- Were there moments where a different AV setup would have helped a demo or conversation
Over time, this builds a reliable show-by-show picture of exactly how to budget for what your booth needs.
And the work doesn’t stop when the show floor closes. How you follow up with the leads you captured is just as important as capturing their information.
The best exhibit AV doesn’t happen by accident. It happens when booth setup and AV are planned together from the start, with every element supporting the booth and every dollar assigned a job before anyone ever sets foot on the show floor.
Find the AV that fits your booth and your spend.